


 Watch Video
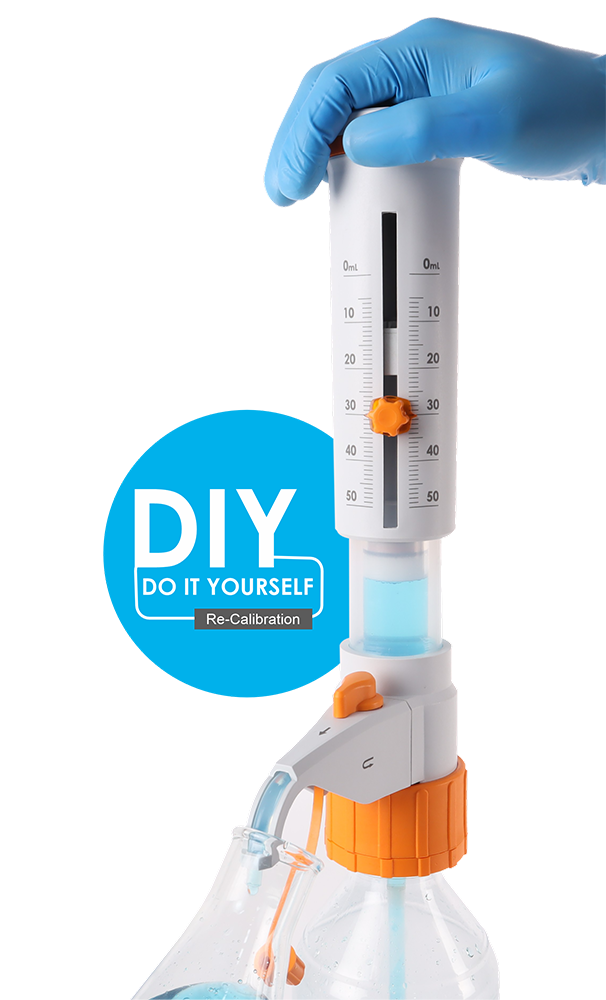
Monitoring your test equipment on a frequent basis is crucial for accurate results. Your laboratory bottle top dispenser is initially calibrated at its nominal volume. However, environmental conditions and the viscosity of the dispensed media can cause variations over time. To ensure accurate dispensing, it is recommended to perform gravimetric volume testing every 3-12 months following the procedure outlined below. Gravimetric volume testing is conducted in accordance with DIN EN ISO 8655-5.
Important Note: If the unit is disassembled for autoclaving or barrel cleaning, re-calibration is necessary. Before recalibrating, follow the assembly instructions to reassemble the unit properly. (refer to user manual)
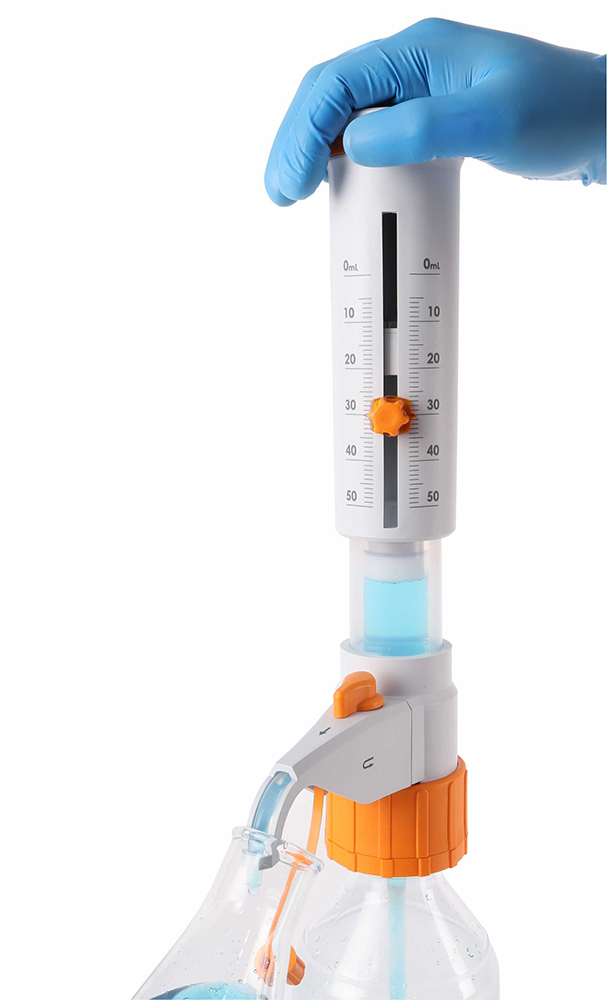
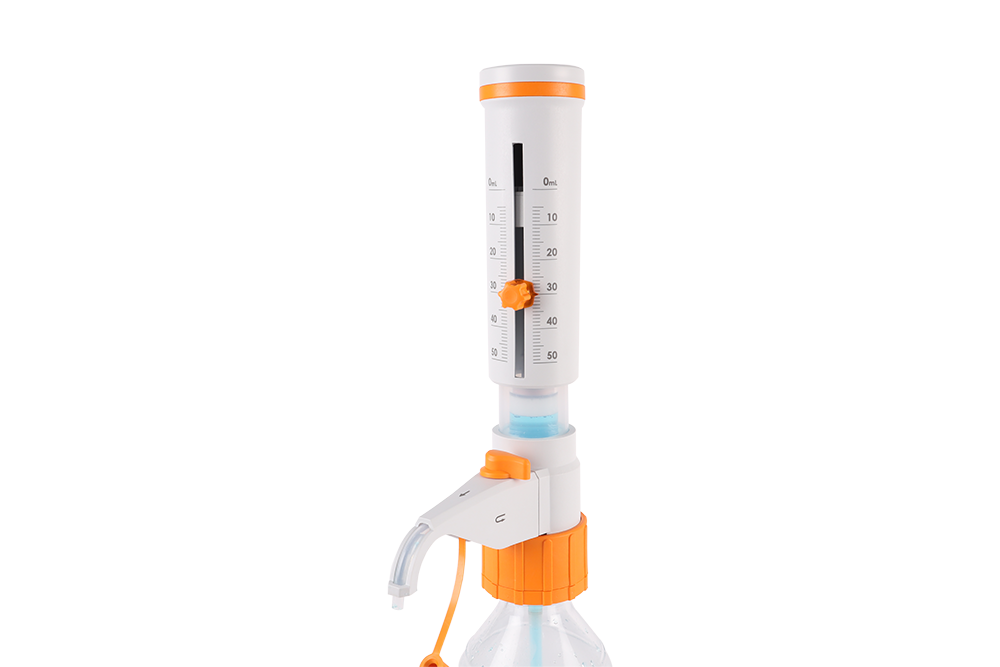
Make sure the Calibration knob is at the mentioned position i.e., from 1 to 20 (please check the Calibration report). Now this is considered as Zero* position for you dispenser. From there rotate the knob Clockwise and Place it in the Calibrated position mentioned in your Calibration report. *The Zero and Calibrated Position changes for individual Bottle Top Dispensers.
Important Note: If the unit is disassembled for autoclaving or barrel cleaning, re-calibration is necessary. Before recalibrating, follow the assembly instructions to reassemble the unit properly. (refer to user manual)
Make sure the Calibration knob is at the mentioned position i.e., from 1 to 20 (please check the Calibration report). Now this is considered as Zero* position for you dispenser. From there rotate the knob Clockwise and Place it in the Calibrated position mentioned in your Calibration report. *The Zero and Calibrated Position changes for individual Bottle Top Dispensers.
Set the Dispenser Volume:
•Set the dispenser to the nominal volume or any other commonly used volume.
Adhere to the common rules for calibration as used in statistical quality control (ISO 8655-5).
•Dispense ten full volumes of distilled or deionised water (according to ISO 3696, at 20°C onto an Electronic Balance in the reservoir (e.g., flask, narrow-mouth flask) filled with some water to determine the actual mean volume dispensed.
Recommended Accuracy of Electronic Balance
Evaluation of Gravimetric Test Results
During the gravimetric test, the values obtained by weighing represent the mass of the dispensed volume without factoring in air buoyancy correction. To determine the true or actual volume, it is essential to perform an adjustment calculation that takes into account both the water density and air buoyancy. This calculation allows for a more precise measurement of the actual volume dispensed.
Step 1 . Mean weight: (Example for 10 weight values)
Mean weight (mean w)= (w1 + w2 + w3 + w4 + w5+w6 +w7 +w8 + w9 + w10)/10
Step 2. Mean Volume
Mean Volume( mean v) = mean w X Z Factor
Z-Factors refer table below
If the gravimetric average result differs from the displayed volume, recalibrate the dispenser

Recommended Accuracy of Electronic Balance
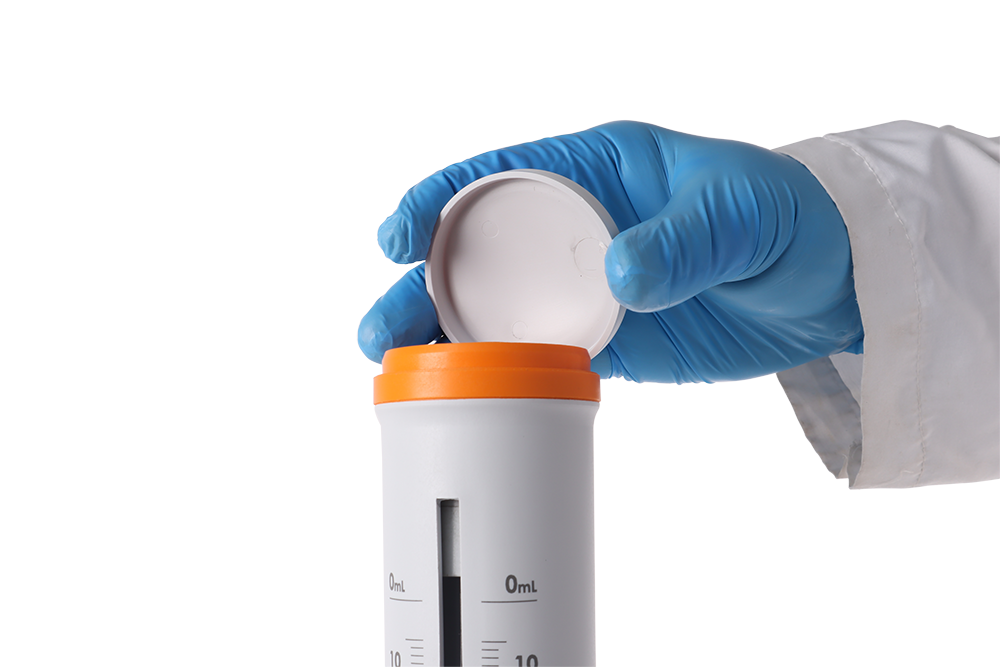
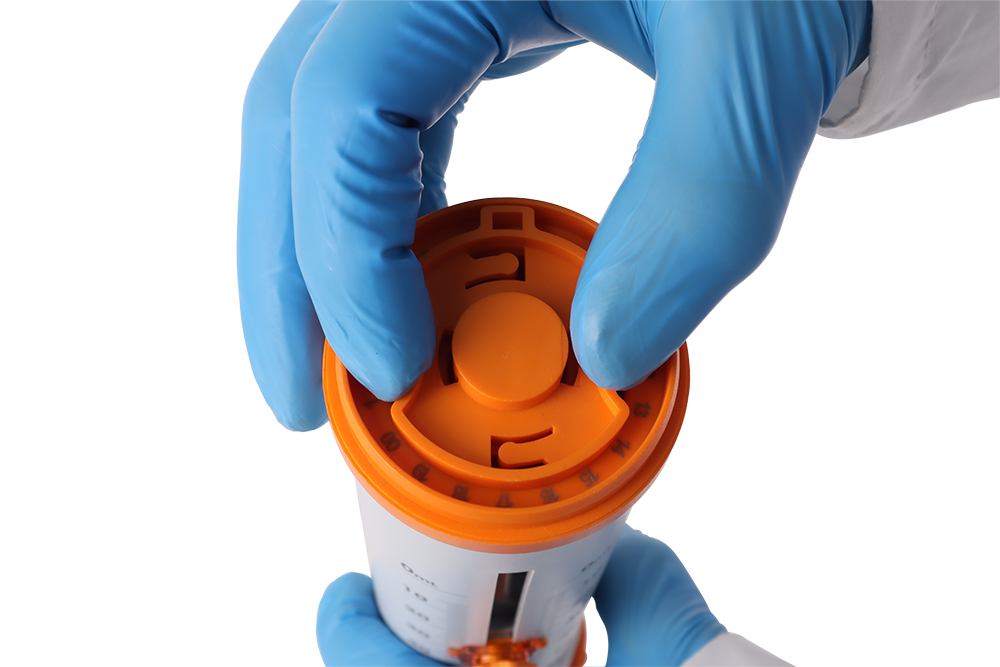
Gently pull the Cap outwards to expose the Calibration Knob.
Adjust Dispenser Volume:
Turn the Calibration Knob clockwise to decrease the volume or anticlockwise to increase it.
Repeat this adjustment process until the desired volume is achieved on the Electronic Balance.
Repeat this adjustment process until the desired volume is achieved on the Electronic Balance.
Finalize Calibration:
•Once the desired volume is attained, ensure the Calibration Knob is at the specified position, typically ranging from 1 to 20 (refer to the Calibration report for your specific device).
•This position is now considered as the Zero* position for your dispenser.
Rotate the knob clockwise to reach the Calibrated position indicated inyour Calibration report.
•Remember to conduct this calibration procedure every 3-12 months, depending on usage and environmental conditions, to maintain accurate and reliable dispensing results from your laboratory bottle top dispenser.